

I had an idea in my head that I wanted to combine Jo's new paints with the Chartreuse from my set of paints.
It worked well in my head but sometimes things don't go entirely according to plan.

I masked off the petals on one of the flowers on my new stencil PS005 so that I could use Little Black Dress Fresco in the tiny dotty centre and then repositioned the tape to protect the dots from the Chalk that I used for the petals.


I watered down some Chartreuse and using a wide brush, painted a wash over everything before stencilling my first layer of images. I should have seen the warning signs at this point, I should have trusted my gut feeling. Basically, I wasn't loving the colour combo, but because I had had this idea in my head, I was determined to see it through. So as it stands, I have Chartreuse in the background, Amethyst and Dusty Teal for the stencilled images. I used PS002 for the leafy thingy which is one of my stencils and the other images are from one of Jo's PS007. I dry brushed some Dusty Teal around the edges to see if it would look more balanced. Kind of felt that that didn't work too well either

In an effort to make the colours work better, instead of fighting with the background colour, I used
Dolly mix on top of the Amethyst, nudging the stencil just a smidgen from it's original position, to create a shadow.

I repeated this process with the small flowers from PS008 to fill a gap at the bottom of the board.

You can see from this photo that the Chartreuse is too citrus for the other colours and now the flowers are too pale......not intending to give up, I decided to add some shading to the flowers, so a little bit of Amethyst over the Dolly Mix seemed to help a little bit.

Another idea popped into my head....why not paint over the Chartreuse to see if it could be toned done a little bit? I watered down some Tikka and I think you can see that this picture shows that it made quite a bit of difference.

I also used some Amethyst to paint over the Dusty Teal edges and felt that that helped too.

Finally I felt that I was getting somewhere.

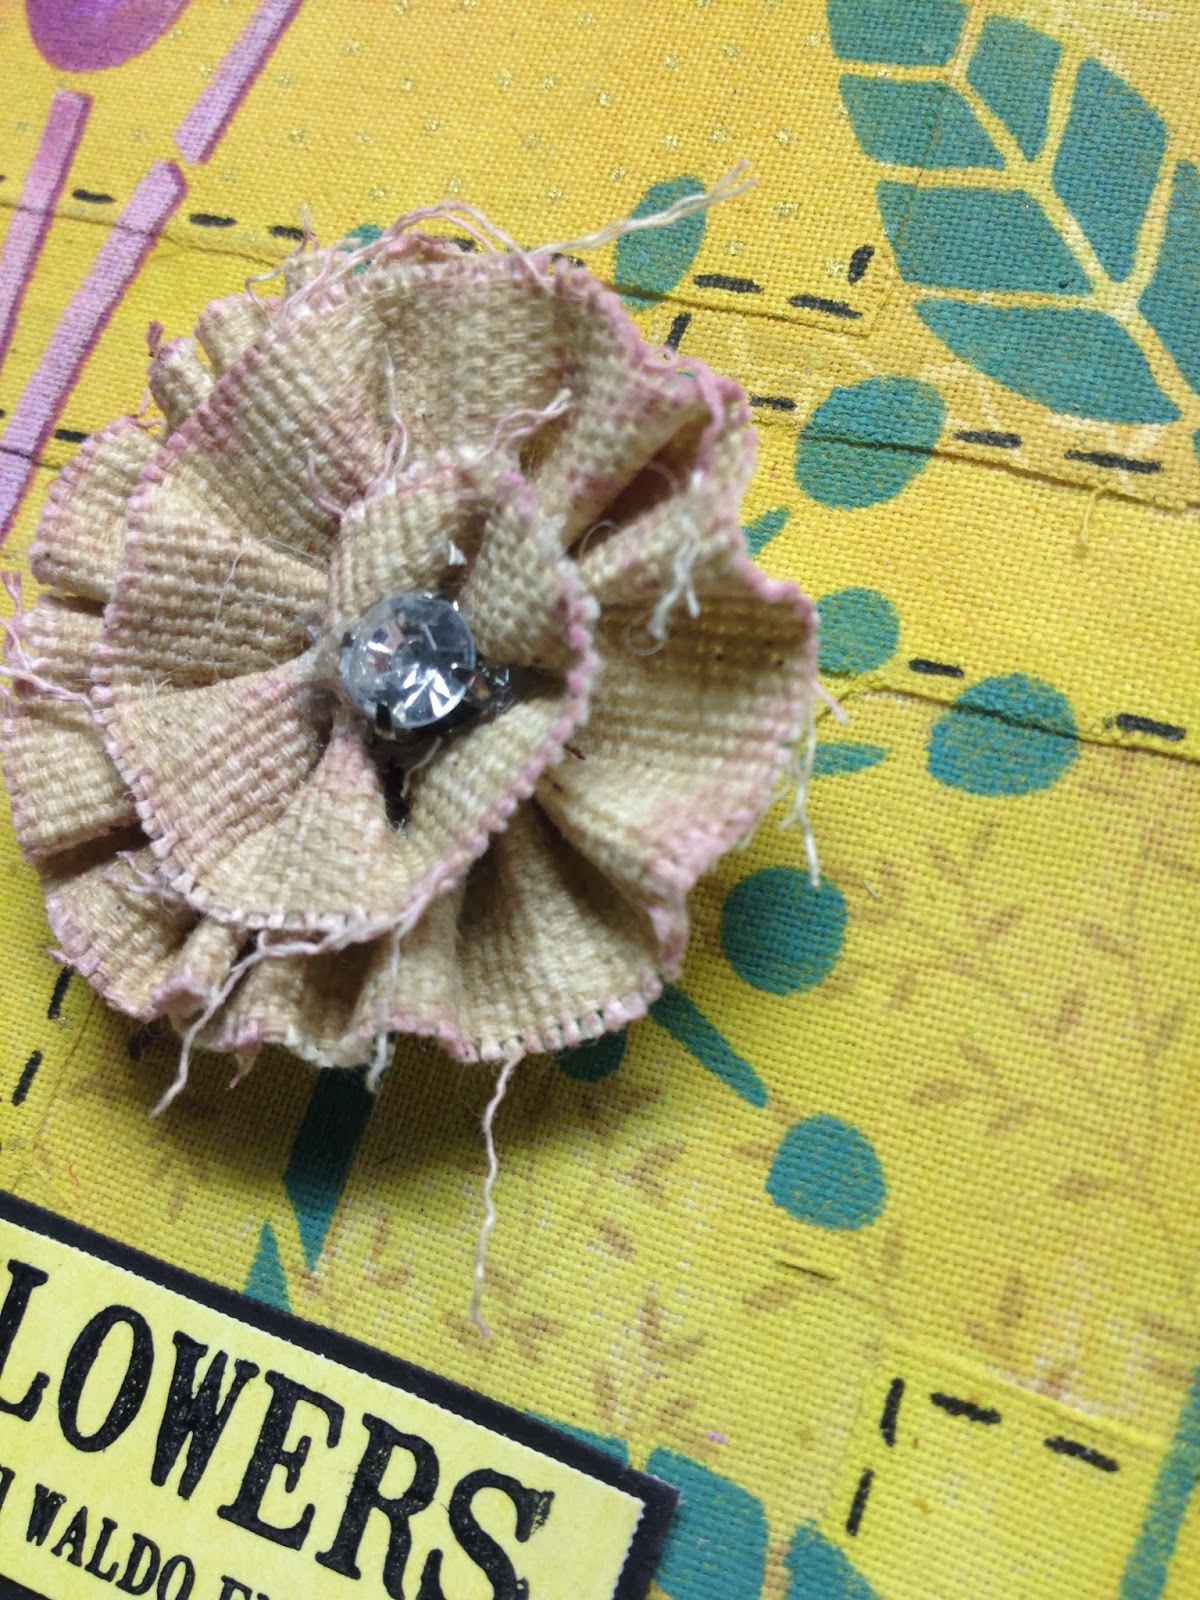
I added some faux stitching to all the edges of the fabric pieces and stamped some script on the petals of some of the flowers.

A few added embellishments to finish up.....I found a shabby looking dimensional flower that was just the right size and stamped a quote from ELB06. When it was cut into sections, I was able to position them to fill the gaps. I am happy with the layout but not the background. Although it is a bit more orangy than this picture shows, I would not do it this way again. I think next time, I would water down some of the Chalk paint and whitewash over it.....that usually fixes most problems.

So there you have it, things don't always go according to plan for me. Many people have not really believed me when I have said that things go wrong for me too.
Think I might just take my black pen and do some doodling around these leaves, then I need to step away and leave it alone!!!!!
Finally, I just wanted to plug my own classes again. All the classes at The Bead Scene are now sold out with the exception of this Saturday when I have one remaining place available. If you fancy joining me and a bunch of very friendly ladies to make this cute little mini book, filled with all the new Lynne Perrella images, then simply click here for all the details.


13 comments:
It is quite encouraging to read that things don't go perfectly for the professionals too! I would probably have given up and thrown it out long ago... I think it looks great.
If it doesn't work first time, try try again! Tis really good to find that gurus go through this as well! Loved going through the stages with you and learning from the stages. Fabulous finished effect. Love your artwork....respect! Hazel xx
Been sat pondering over your canvas, really can't see what's wrong (obviously why i'm not good with colour...)
To me it is exquisite, every layer brings you to a perfect moment. Great to see the step by step & it is your perspective but it was great from the beginning. I loved the teal edges.
Thanks for sharing:-) xxx
This is such a great post. It is helpful to know that crafters as experienced and accomplished as yourself do not always find that projects go to plan. What was really interesting was to see how, step by step, you made little alterations and additions to make your board closer to what pleased you visually. I think it is gorgeous now. I love everything you do and that little LP book looks as if it's going to be fabulous. I would love to come to one of your classes one day. Julie Ann xx
Sooooooooo gorgeous
~Linda
This is gorgeous!! citrus color is one of my favorite. I know you are pro but I have lots of agree to the post, colours combo is too difficult. I try many way, it's going bad or good result, sometime throw away or pick up again. Post is very interest. Thanks!!
Oh c'est très beau !!
Absolutely "loverly"! I want to make one!
Fabulous fabric board Lin!! Coco x
This is a great idea, some lovely pops of colour and I like the amethyst edging too.
kyla
Great idea for a project with the fabric background. Lovely to see your step by step guide & the changes you made along the way. I actually really liked your finished result!
Amy x
Must admit I was surprised when I saw the colour combination, but I think it worked. The canvas is gorgeous.
Totally in awe at your bravery in trying this combo Lin! I would have wimped out from the words go and I can see why you felt as you did at the beginning but thank you for taking the time to show us how you worked through it and eventually ended up with what I think is a beautiful project!
Hugs
Lesley Xx
Post a Comment