Having said all of this, we do however has some wonderful evenings.....good food......a few drinks and lots of laughs. We found a fantastic little restaurant and I'd like to share their details with you in case you are ever in Paris, I would highly recommend you eat there as not only was the food amazing, the staff were beyond lovely and the atmosphere was everything we had hoped for. The only downside is that you need to book in advance as it is a very popular restaurant.
L'Aubergeade
17 rue de Chaligny
75012 Paris
Tel: 01 43 44 33 36
From L to R - Florence, Lauren falling over, me, Sally, Mark, Leandra and Dounia. If you look in the mirror, that's Nadir taking our photograph.......he was just so funny and looked after us incredibly well.

We enjoyed his company so much, Sally invited him to be part of our next photo!!!!


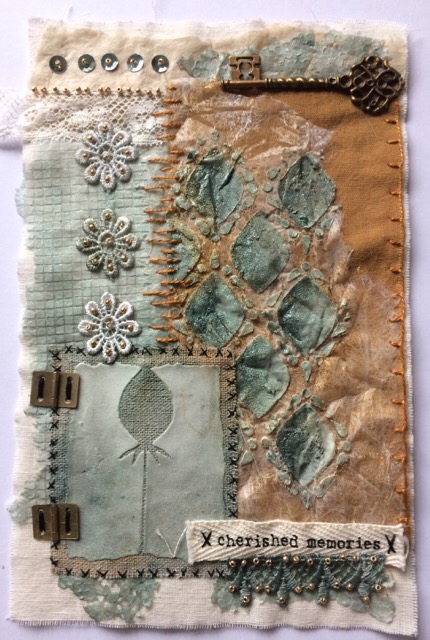
Also some made by Lauren and Leandra.


Well that's it for my little round up of Version Scrap 2017, I'm off to cook tea.