Thursday, 11 November 2010

Vintage Christmas

I've had a very productive day today. I made two projects for my commitment to Tim Holtz as a member of his design team and I would like to share the Christmas one with you....you'll have to wait until next week to see the second one.........I know that's mean but this post is photo heavy and it has taken for ever and a day to get the photos uploaded. I always load the pictures first and then fill in the text as that clicking and dragging lark drives me round the hat rack!!!!

So here it is in all it's glory......a vintage stlye christmassy, hinged decoration that I'm thinking will sit nicely on my mantle this year.

I'm starting with a few close upshots and then I'll take you through the making of some of the elements.
Tim's facets and baubles are just perfect for the feel of this project.

The carved ornament die was a tad large for this project so I cut them from shrink plastic and after shrinking, they were the perfect fit.


It wouldn't be one of my projects if it didn't have metal on it somewhere, so I made a ticket from gold nugget metal.


I was determined to hinge these two frames together and everything I had ready made was way too big, so I had to improvise and make my own....I'm quite pleased with the results!!


Oh, and I'm still in love with tissue tape, so it found it's way on to this project......I use it on everything at the moment!


Okay, here we go with a few simple step outs of some of the elements. This red paper was taken from Tim's 12x12 pad of Seasonal papers. I popped them through my Big Shot using the Music Texture Fade and the Tall Pines one. Then I sanded the high points of the embossed design.


I added a touch of Peeled Paint Distress Ink for a more Christmassy feel and put them to one side until I had prepared my frames.

I painted the frames with Bottle Green paint dabbers and added some Tidings Tissue Tape.


The Tissue Tape was far too white for this project, so I knocked it back with some more of the paint dabber and blended it in with a wet finger.


I used Ranger's Matt Medium to stick my papers in place.


A touch of Gold Paint Dabber was just perfect for that aged look.

Now for those pesky hinges.......well actually, not really so pesky now that I figured out how to make the perfect size hinge using the much larger hinge from Tim's Hardware Findings die.
I simply cut off the end part, drew around it on some Grungepaper, flipped it over for it's mirror image and drew around it again. Not so easy to do when your pen is running out but as I was going to paint over it, it didn't really matter!!!!


At this point, I also cut a couple of pieces of Grungepaper using the Mini Ornamental die and trimmed off the bottom......these were to become my drapes.


Then I used a technique that Tim taught me at Ranger U........you use a Paint Dabber in a pounding motion and it creates an amazing textured paint effect.


I used a touch of black Archival ink to make the gold paint look a tad more tarnished.

Very cool look.....don't you think?????


Now for the shrink plastic baubles....I had forgotten how much I love shrink plastic.

Alcohol inks are amazing on shrink plastic.....I used Cranberry, Oregano and Gold.

A little bit goes a long way......bear in mind that the colour will become more intense when shrunk.

After they had cooled down, I used Archival ink to stamp the images.

A touch of Gold Paint Dabber transformed this lock from the Locket and Keys set of Ideaology
Well, I hope this inspires you to make your own Christmas decorations.
Lin

Wednesday, 10 November 2010

WOYWW 10th November 2010

Today's desks are from my workshop where I will be teaching my Melt Art class. Here's one of the desks all set up and ready for some of my ladies. There is an identical one just behind it. And here is what they are going to make.
Now that really has to be my fastest post ever!!! I'm off to switch on my melt pots. If you would like to join in the fun of WOYWW click here to hop on over to Julia's blog.
Have a fun day, Lin

Wednesday, 3 November 2010

Bob Sprocket

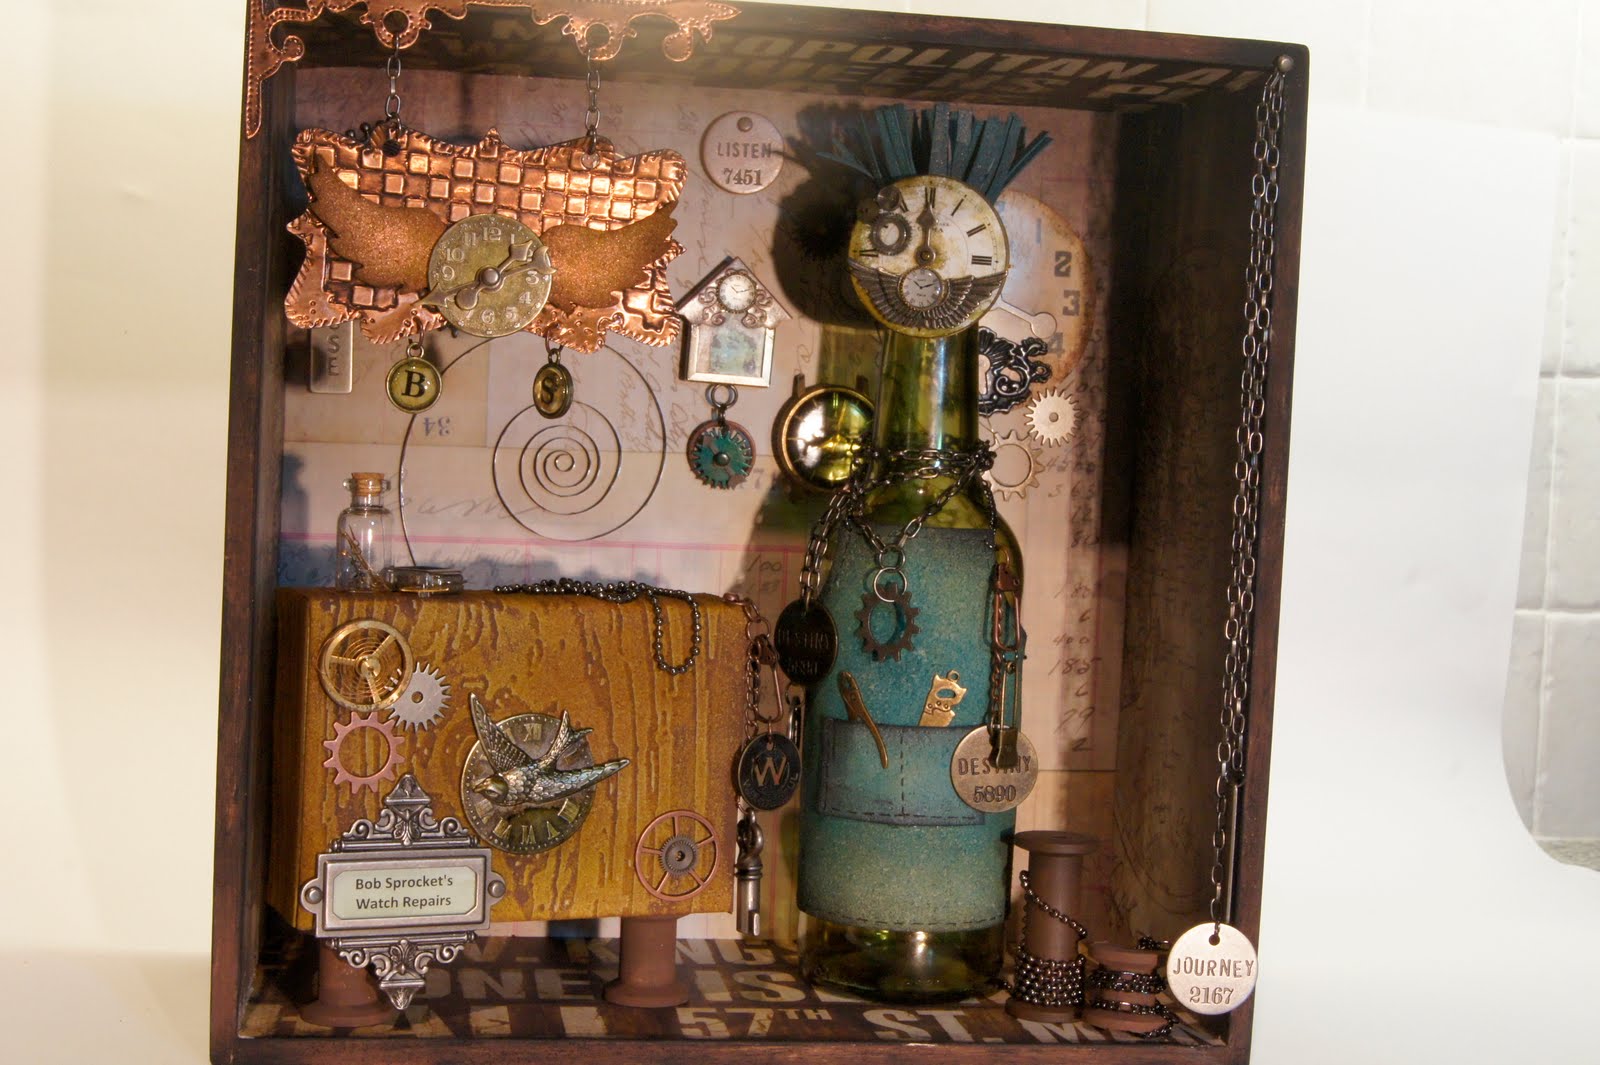
Well, this has been a long time coming but I would like to introduce you to Penny's new boyfriend Bob. Bob Sprocket is a watchmaker extraordinaire who has the most fabulous workshop to make and repair watches, so I would like to share the process of how Bob and his studio came to life. He's quite a handsome chap with a funky hairdo, just like Penny.
The studio started life as a wooden box that I covered with Tim Holtz papers. I sanded all the edges and added some paint with an Espresso paint dabber followed by some black to give it a distressed/worn look.
I made Bob's work bench by making a box from greyboard to begin with and the covered it with Tim's Grungepaper. To make it look more realistic, I popped all the Grungepaper panels through Tim's woodgrain embossing folder.


Coloured it with some Crushed Olive and Brushed Corduroy Distress ink, applying it with a blending tool to get even coverage.


Then, with a dry brush, I worked tiny amounts of Espresso paint between the grain of the wood and when dry, covered the greyboard box with the panels and added some painted cotton reels for legs for the workbench.


The hanging sign was made from copper metal and die cut using Tim's Hanging Sign die by Sizzix. I'm sure you are sick of hearing about the tape sandwich but for those of you new followers, a tape sandwich really helps to die cut the metal with ease, it will give the metal some stability. Simply apply Humungo sticky tape to a piece of cardstock and then stick the metal to the other side of the Humungo, you are now ready to die cut. Simply place the metal facing the die before cutting in your die cutting machine.

I decided to decorate the hanging bracket with my TSS pointy tool.


After putting the hanging sign through the Big Shot in another embossing folder, I neatened off the edges with an embossing wheel.


I covered the whole thing with black paint dabber.

Then used a paper towel to remove the excess paint to reveal an antiqued look.

I then took one of Tim's clocks from his Timepieces Ideaology set and coloured it with Pesto alcohol ink. To make the numbers really pop, I sanded back through the alcohol ink to reveal shiny numbers. This clock together with the wings below became part of the hanging sign that you will see in some of the photos later in this post. I got so carried away with creating, I forgot to keep taking pictures.......one of my regular downfalls I'm afraid!!!!
I die cut the wings from Tim's Grungepaper, coloured them with Crushed Olive Distress ink and then sprayed them with Rangers new Perfect Pearl Copper Mist......yum, yum!!


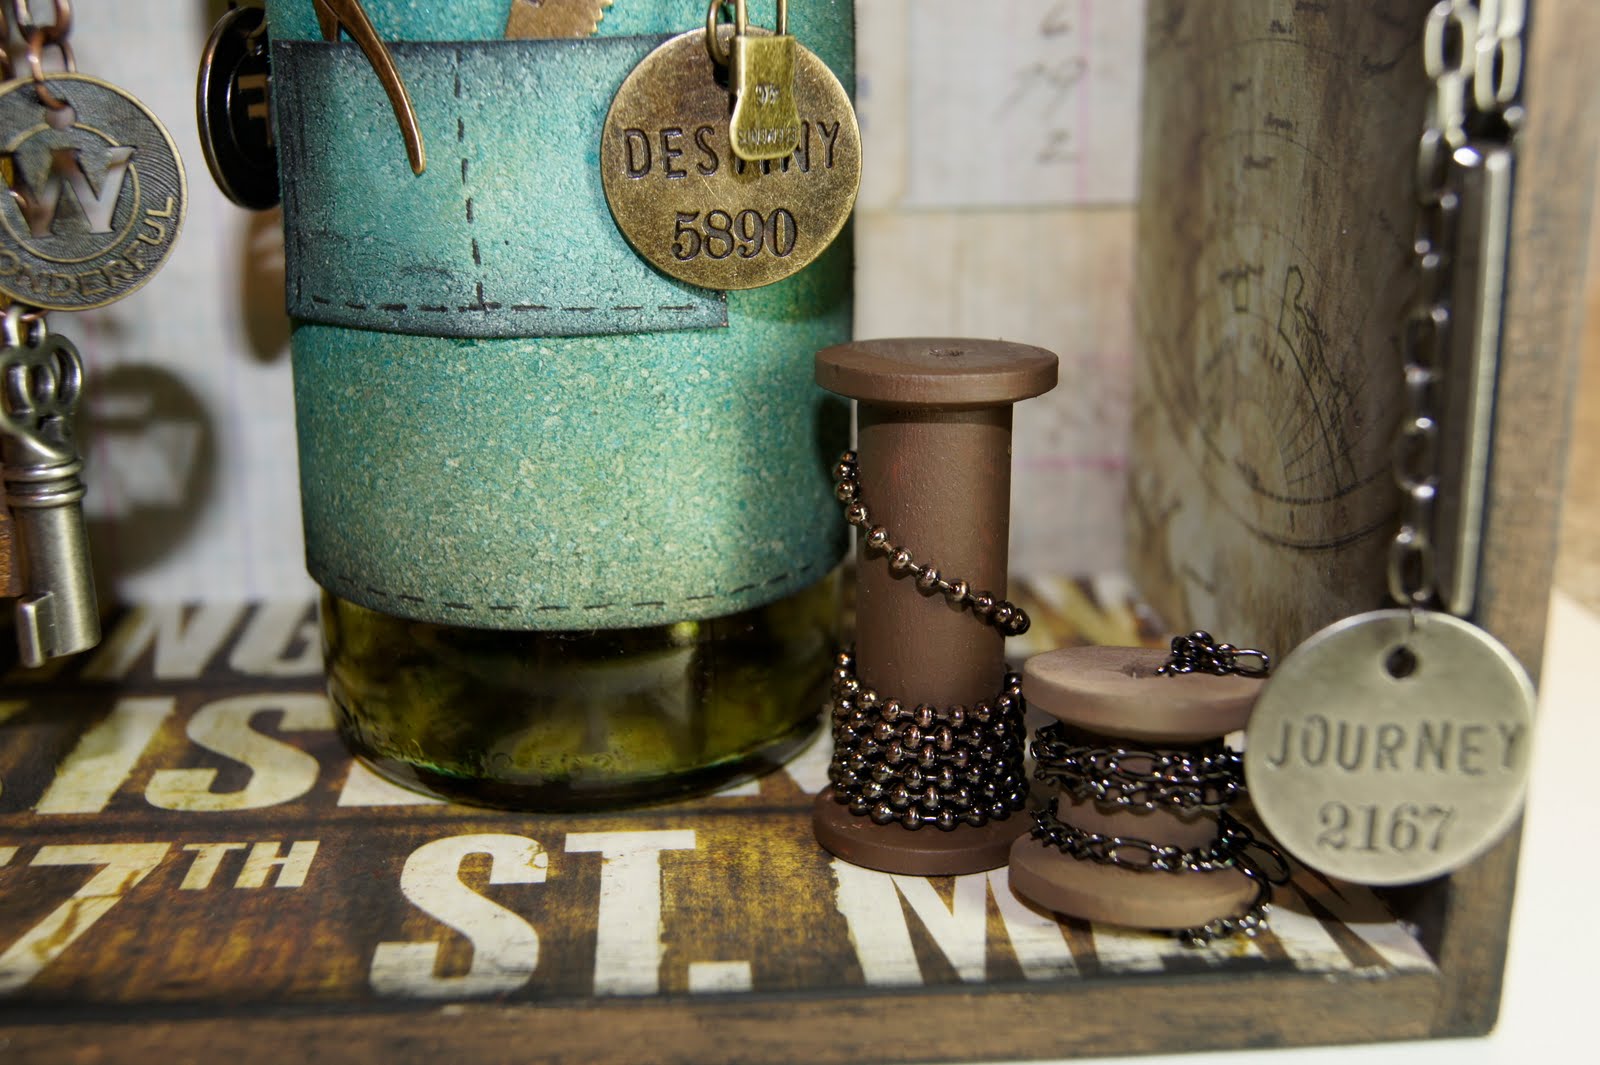
Sadly as mentioned before, I'm not so good with the continuity of pictures but basically I went on to decorate the studio with lots of ideaology embellishments and made Bob from an empty bottle. Bob started life as a lemonade bottle....just like penny. It is important to thoroughly wash and thoroughly dry your bottle before working with it. I coloured the bottle with alcohol ink and made Bob a fun little apron out of Grungepaper. He's got Grungepaper hair and a lot of chains for jewellery.

Now for the close up shots so you can peek into Bob's little world.


I hope you've enjoyed the first of this month's DT projects for Tim. I certainly enjoyed making him.
Have a creative day, Lin

Tuesday, 2 November 2010

Artsycrafts - Through the Garden Gate

Now that both the Artsycrafts weekends are done and dusted, I can share piccies of the projects with you. This is the main project which we spent all day Sunday making. This is one of my samples and is made from our Cloudy Blue colour option. When you book to come to an Artsycrafts event, we ask you to select your favourite three colours choices from a list of ten, that way, you get to make your main project in colours that you love. Actually, it is also a really good opportunity to choose colours outside of your comfort zone, that way help is on hand for guidance if you do find it a challenge. This is a wooden frame that has been painted with acrylic paint and glazes and filled to the brim with all sorts of yummy stuff. The background is corrugated cardboard that has been de-laminated, painted, stamped, embossed and layered up on a top panel of canvas. The canvas also got the paint treatment and stamped with my favourite flowers from Paperartsy Hotpicks 1009. The flowers were then coloured with a white pencil to make them pop.


These flowers were all die cut with the amazing Paperartsy grunge flower dies using different surfaces like book pages, tissue, fabric, corrogated card and of coarse metal.

I just love the simplicity of these flowers.....so pretty.


We decorated the frame with a beautiful metal border using Ten Seconds Studio Kabuka 14 which was a perfect fit for the frame....how lucky can you get?????


This is my version of the Book of Wisdom, made from the Java Jade colour scheme. It's all constructed from greyboard that we covered with the new papers from Paperartsy, if you haven't seem those papers yet, click here to hop over to the website, they are just lovely


This is day one at Newport Pagnell....everyone waiting for the fun to begin......you can see Essex Lynne (fondly known as Cheryl Cole) in the background chatting to some of our guests. You can also see the shop before it got ravaged. Note how clean and tidy the tables are at this point.....that didn't last long!!!
They all popped out for a cup of tea.....the sign of happy crafters is a messy desk.......me thinks they had a good time!!!
This is day two at Newport Pagnell, everyone assembling their frames

Here are a few shots of some of the shadow boxes that our guests made.....are they beautiful???


This is one of the demos during the day. Because it is such a big group of people, we split the room in two and I demo to half and Leandra takes the other half.


I love this picture of Leandra, smiling as always....looks like she's helping someone out with some cutting out.

The rest of these pictures are from Warrington. This is Neet getting into the spirit of things....it was Halloween after all.

I really love these pretty cool colours on this piece. Please forgive me if I am wrong but I think this frame was Jackie's.


A close up of the detail on this gorgeous flower and I think this one may belong to Jayne.


As you guys know, I love green so this was right up my street.....Alice did an amazing job don't you think?
I didn't actually take many photographs myself, on week one I gave my camera to Linda E. and she took pictures for me, so thank you Linda, I've used quite a few of them here. At Warrington Mark took some for me although I must admit, it was me who took the picture of Neet, I couldn't resist.
So that's a little insight to our fun packed weekends.....more weekends are in the pipeline for 2011, so I hope you can join us then.
Lin