
If you read my post about the trip to Version Scrap in Paris with the PaperArtsy team, you may well remember that I promised a step by step of a new technique that I discovered using Grunge Paste and Mica Powders. Sorry it has taken a while, I've been busy this week working on new secret stuff and a spot or two of Nanna duty.
The sample I showed you was this one, which I gave to my dear friend Sally, so I decided to make another one showing how the technique could be used as an accent instead of the feature.

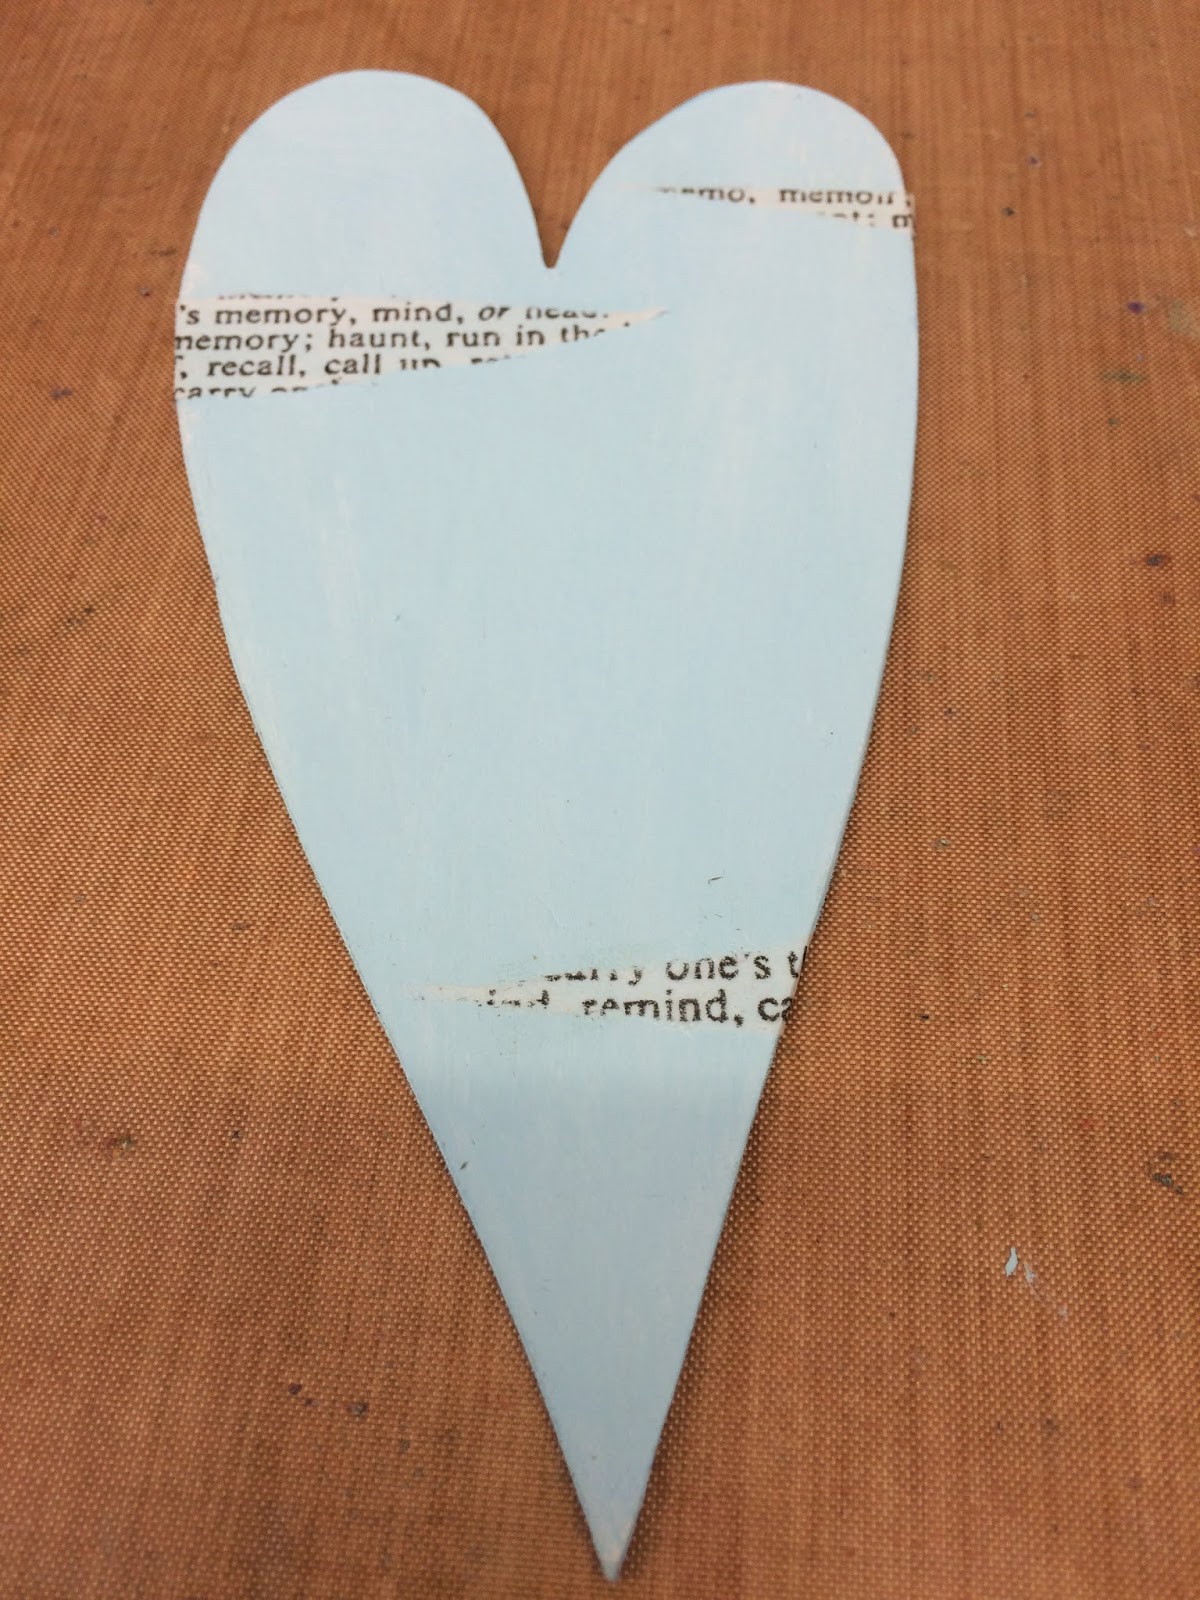
I started by painting a grey board heart with Blue Oyster Fresco Finish paint.

Added a few scraps of printed tissue, using Matt Medium.

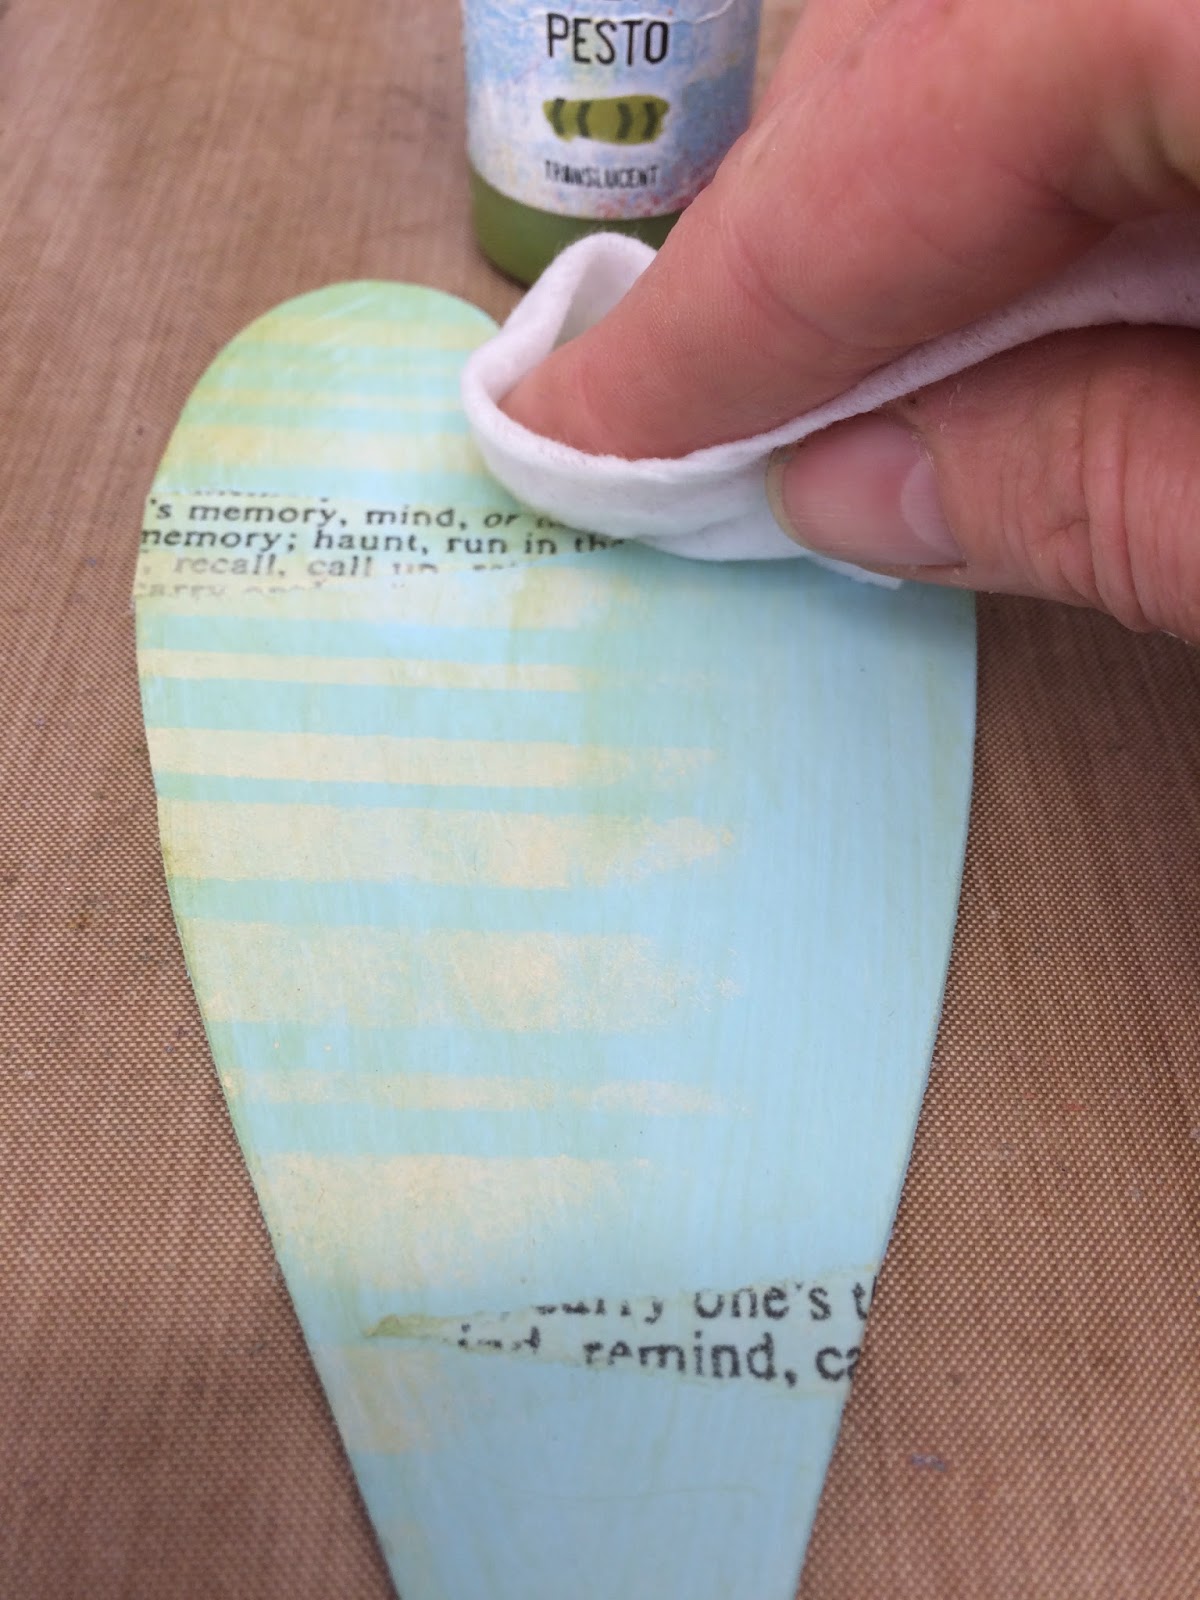
I used a baby wipe to tint the stripes with a tad of Hey Pesto Fresco
I also used Hey Pesto to add some leaves through my stencil PS006. I painted a piece of Smoothy cardstock with Nougat before stamping this gorgeous Lynne Perrella image from LBC032. At this point, I decided to trim the image to fit the shape of the heart so that I could decide where to put my Grunge Paste stars.

I selected the star I wanted and masked the surrounding stars as I wanted just a single star.

Now this is the important bit. Once you have applied the Grunge Paste, you have to remove the stencil and masking tape, clean the stencil and replace it over the Grunge Paste while the paste is still wet!!!! Using a small stencil brush, I stippled some mica powder into the Grunge Paste to colour it and at the same time, the stiff brush adds texture.

I added a second colour for added interest. The next step is also very important!!!! Leave the stencil in position and gently blow away any excess mica powder. I used Dreamweaver Metallic FX and as these can be fixed with a spritz of water. I carefully sprayed a fine mist of water over the star with the stencil still in place. If you remove the stencil before spraying, the mica powder runs over the background. Carefully remove the stencil and dry with a heat gun.

I love this effect!!! Sorry for the blurry photo, trying to capture the effect of the mica meant the background ended up with the fuzz!

If you want more than one Grunge Paste/Mica Powder element, I would recommend you do them one at a time. As the Grunge Paste dries so quickly, it would be difficult to get the mica powders to stick once the GP has started to dry.

The finished piece....... it's a fun technique, I hope you will give it a try yourself.


10 comments:
wow this looks fab, it was worth the wait to see how you did this.
wow thats a lovely tecnique Lin and your finished peice is lovely xxx
Nice finished piece.
Kyla
superbe
Great technique Lin, thank you for sharing, the tips are indeed an integral part of the success. Looks amazing! :-) xxx
Fabulous!!! I'm going to have to try this soon!!!!
Looks great Lin! Sue C x
The heart is gorgeous. I love the stars.
What a wonderful technique, would love to try this!
Lucy x
I'm very late to comment, sorry Lin, and thank you very much for all your explanations about this fun technique you discovered. I saw you in action at Version Scrap, and it's was fantastic to see the effect of mica powders over the grunge paste, but I didn't have much time to stay long on your stand and have all the details so it's great for me to look at another sample made by you on your blog today, and all the steps clearly explained to remember this! Thanks!! Love, Coco xx
Post a Comment