
I have a tag, some Bondaweb and a piece of fabric. My fabric is a nice fine weave cotton so that it is easy to stamp on and also has a tiny print. Because I will be using translucent paints, you will still be able to see the print of the fabric which of course adds to the layering effect.

I like to use Bondaweb for adhering the fabric to the tag as it gives an instant bond. I don't have to wait for the glue to dry and there are definitely no lumpy, bumpy bits of glue under the fabric.
Simply trim the Bondaweb to the size of the tag, place it on the tag with the paper backing facing up, then iron.

If the backing paper doesn't peel away easily, just warm it up again with the iron and that should fix the issue for you.

Place the fabric, printed side up, on the glue side of the tag and iron until the fabric bonds to the card.

Trim away excess fabric.

To re-make the hole, I use the points of my scissors to pierce the fabric then use a paint brush to push through and open up the hole to the original size. This also pushes all the rough stuff to the back of the tag.

If you would like your fabric to have a bit of a frayed edge, now is the time to do it. Once the fabric has been painted, the fibres will stick together, making it quite tricky to separate them.

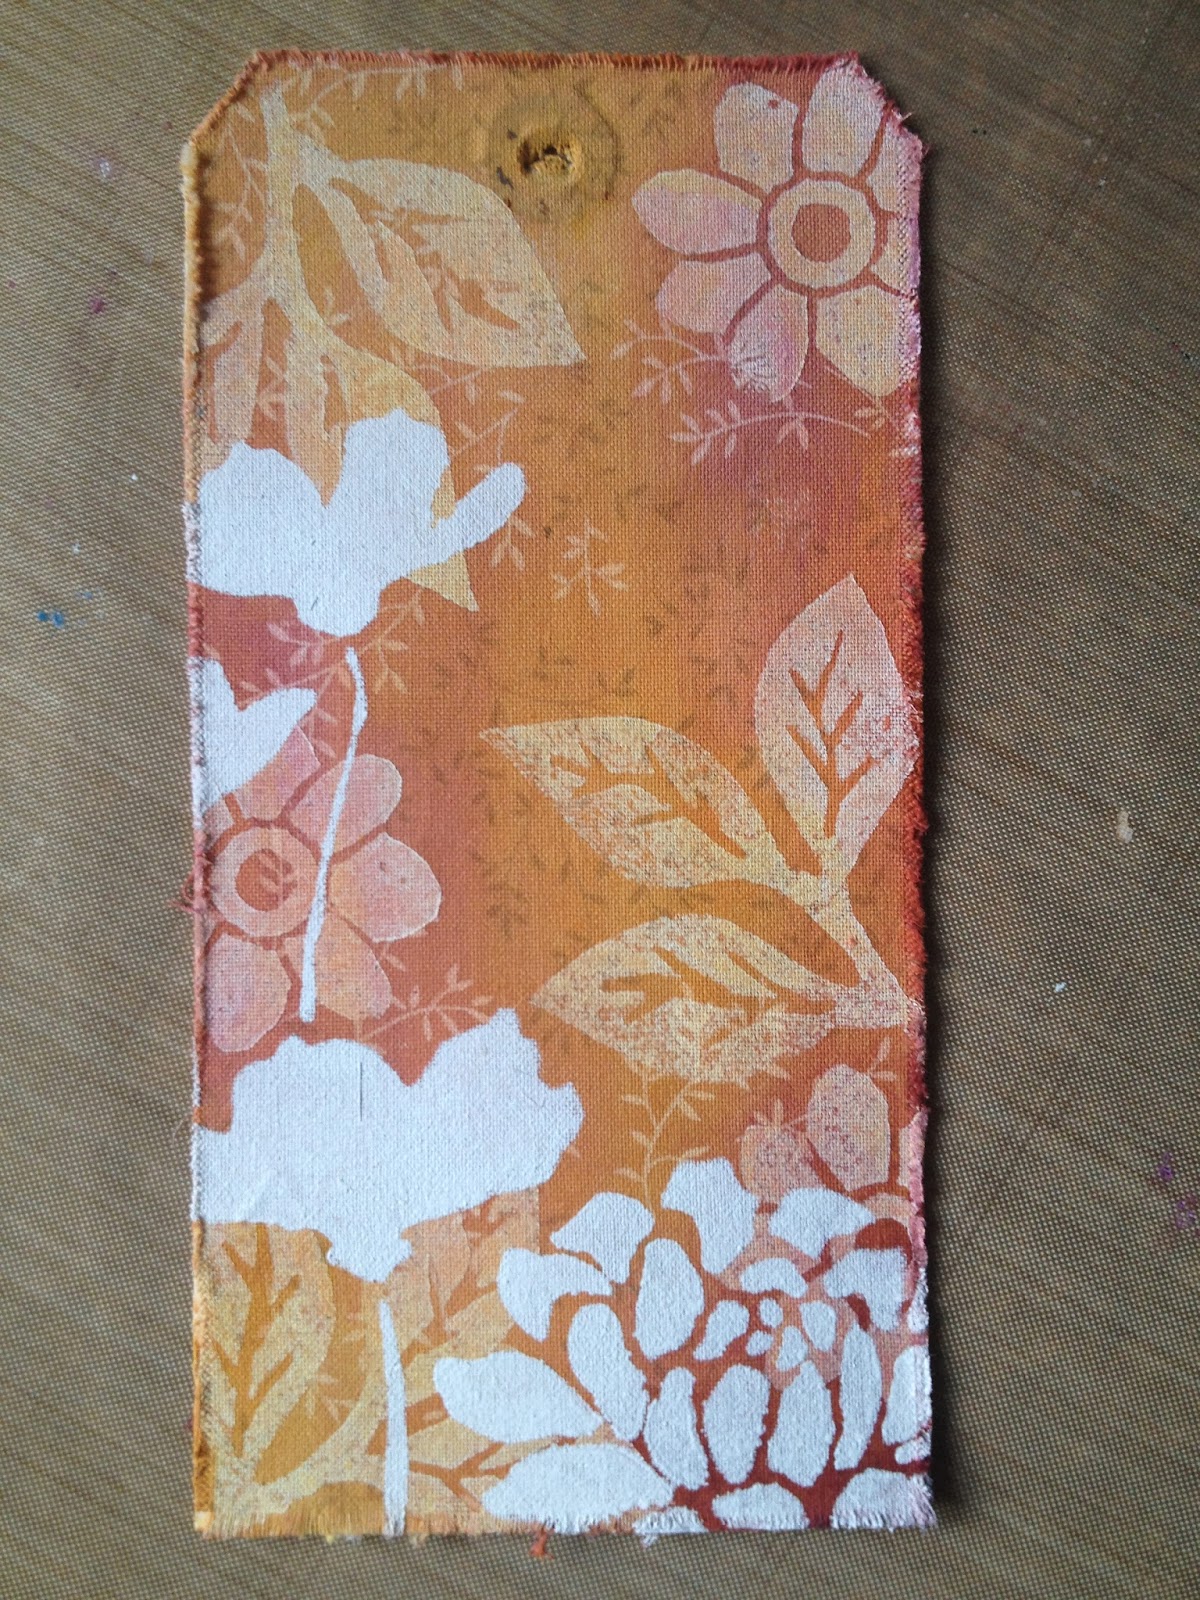
For the first layer, I selected a couple of bold stamps. The leaf trio is one of my favourites and is from ELB01 and the little daisy stamp is from ELB02. I used Snowflake Fresco Finish paint to stamp the images randomly, yet balanced over the tag. Make sure the paint is completely dry before moving on to the next layer.

My colour choice .......love this combo!

Even though all my colour choices are translucent paints, it is still important to water them down before painting on the fabric. The paints need to be a watery consistency to be able to work them into the fabric and blend the colours together. I always start with my lightest colour so this is Pumpkin Soup, brushed on in a few areas, leaving room for the other colours.

Next I added some Tangerine, making sure that I blended it with the Pumpkin Soup, I like a nice blended look not blocked areas of colour.

And last but not least, I filled in the gaps with my watered down Claret.

I chose a flower stencil, this one is by Prima and I used some masking tape to mask off the areas that I don't want which are very close to the bits that I do want.

I stencilled some Snowflake Fresco through the stencil, this will be the base coat for the next layer of paint. Because my next colours are translucent, the white paint is needed for two reasons. First of all, it will make my translucent paint appear opaque but it is also needed to show the true colour of the paint.
Reposition the stencil, then just move it a fraction in one direction so that we will get a little highlight around the flowers when the next colour is applied. I have used this Lynne Perrella technique a gazillion times but I do normally use it with a dark colour as my base layer to create a shadow, but I can only do this if I am using other opaque paints over the top.

I started colouring the flower heads with a layer of Tangerine followed by a bit of shading with Claret.


At this point I decided that the white paint was just a tad too stark so I watered down some Yellow Submarine Fresco and painted a wash over the whole tag. I also darkened the edges with a teeny tiny amount of Claret paint on a piece of Cut'n'Dry foam.

I stamped the quote from one of my new plates of stamps ELB06 (available in February) and a little bit of stencilling with my chicken wire stencil. I used Jet Black Archival ink for this.

At this point, I was thinking that I like it, but I don't love it. Nothing jumped out at me as being the top layer apart from the quote which I had stamped wonky, so that definitely jumped out at me!!!

I realised that I had left off one of my favourite techniques......to add script to some of the larger flowers!!!
I repositioned my stencil, grabbed a text stamp (MN61) and printed some text through the stencil.

I like it a lot more now. It just goes to show that the finishing touches do really make a difference.


31 comments:
Thanks for that Lin. My puzzled brow won't be as furrowed tonight. I was wondering how you created the flowers with script. Easy when you know how. Also, never occurred to me to start with snowflake and add in. Der. This has been so helpful. Thankyou, and you are so clever. X
Thanks for the tutorial Lin, makes it look easier than i thought. Love the bump technique but don't always succeed when i try it lol.
Great reminder to use Snowflake as a base to allow the top coat to really pop.
Great to see you back blogging, hope your shoulder is progressing nicely, don't overdo anything:-) xxx
Great post Lin thank you for sharing your knowledge love the tag. And love that I have instructions to be able to create something similar. X
Beautiful Lin! Love the colours and the stenciling of course! Sue C x
Beautiful Lin, really stunning.
Stunning Lin. love it
Lovely fabric tag and a great tutorial :-) this has momentarily taken my mind off my husband who got rushed off to hospital with a fractured hip this morning!!!
Sally
Beautiful Lin, Thanks for the tutorial.
Jo
x
So simply when so clearly explained, love this xx
Oh my goodness Sally,how awful. I do hope he has a speedy recovery.
Lin x
absolutely beautiful, Lin and so helpful to have your step by step guide. Thanks so much.
wonderfully warm colour palette Lin and you're right just the small addition of the script on the flowers really lifts the whole tag.
Lovely tag and very kind of you to make a tutorial.
Margriet
Gorgeous tag Lin. Love the effect of that colour scheme.
Anita x
Wow love all the photos, great tutorial, shall defo have to have a go at this. Love the colour pallet you've chosen too.
Sam xx
Gorgeous tag Lin - thanks for the tutorial too xxx
A really gorgeous tag, Lin - your new quote stamps are completely stunning! Love the tip about adhering fabric with the bondaweb, thank you - and the shading through the stencil looks gorgeous (nice stencil too!).
Alison x
Just caught up with your blog, Lin, and love your new stamps! So beautiful with your flowers! Will be in touch with Ms. P.S. soon!!!!!
Love to you and yours - me back in frogland!
xoxo
Thank you for sharing how to do it, it is really lovely.
Thank you for the tutorial, sparked an idea.
FUN and WOW, thanks for sharing!
Easy when you know how eh! Great techinics and ideas. Love the use of that material x
Fabulous Tag!!!!!!!! Love the new stamps!!
Gorgeous Lin thanks for the 'how to'
Happy craftin
Rebecca
Brilliant tutorial Lin & a gorgeous tag. Thank you.
Hi Linda How are you!!!???? Love this tag so much and the use of the fabric!!! Wow! What a super tutorial you have made for us all . As usual I am in awe Thanks so much for sharing. I do keep a check on what you are up to and love your stamp sets!!!!
Hope to see you at sometime....somewhere!!! P.s. love to Karen when you see her too . So miss LB CRATs!!!!!!!! xxxx
A fantastic tutorial, can't wait to have a go. Sure it wont be as easy as you've made it look though. Hope the shoulder is getting to normal Sarah x
That's a very beautiful tag using fabric, thanks so much for always sharing your tips and techniques Lin. Great tutorial for this tag! I love your works. Hugs, Coco x
Gorgeous!
Such a great tutorial - I love this tag and the idea of using fabric. I'm going to have to try this out. Again, great instructions.
Tricia
Thank you for fab tutorial. Great idea and beautiful colours of using fabric, I love it! This tutorial to reach all over the world, and me!! xx
Post a Comment