

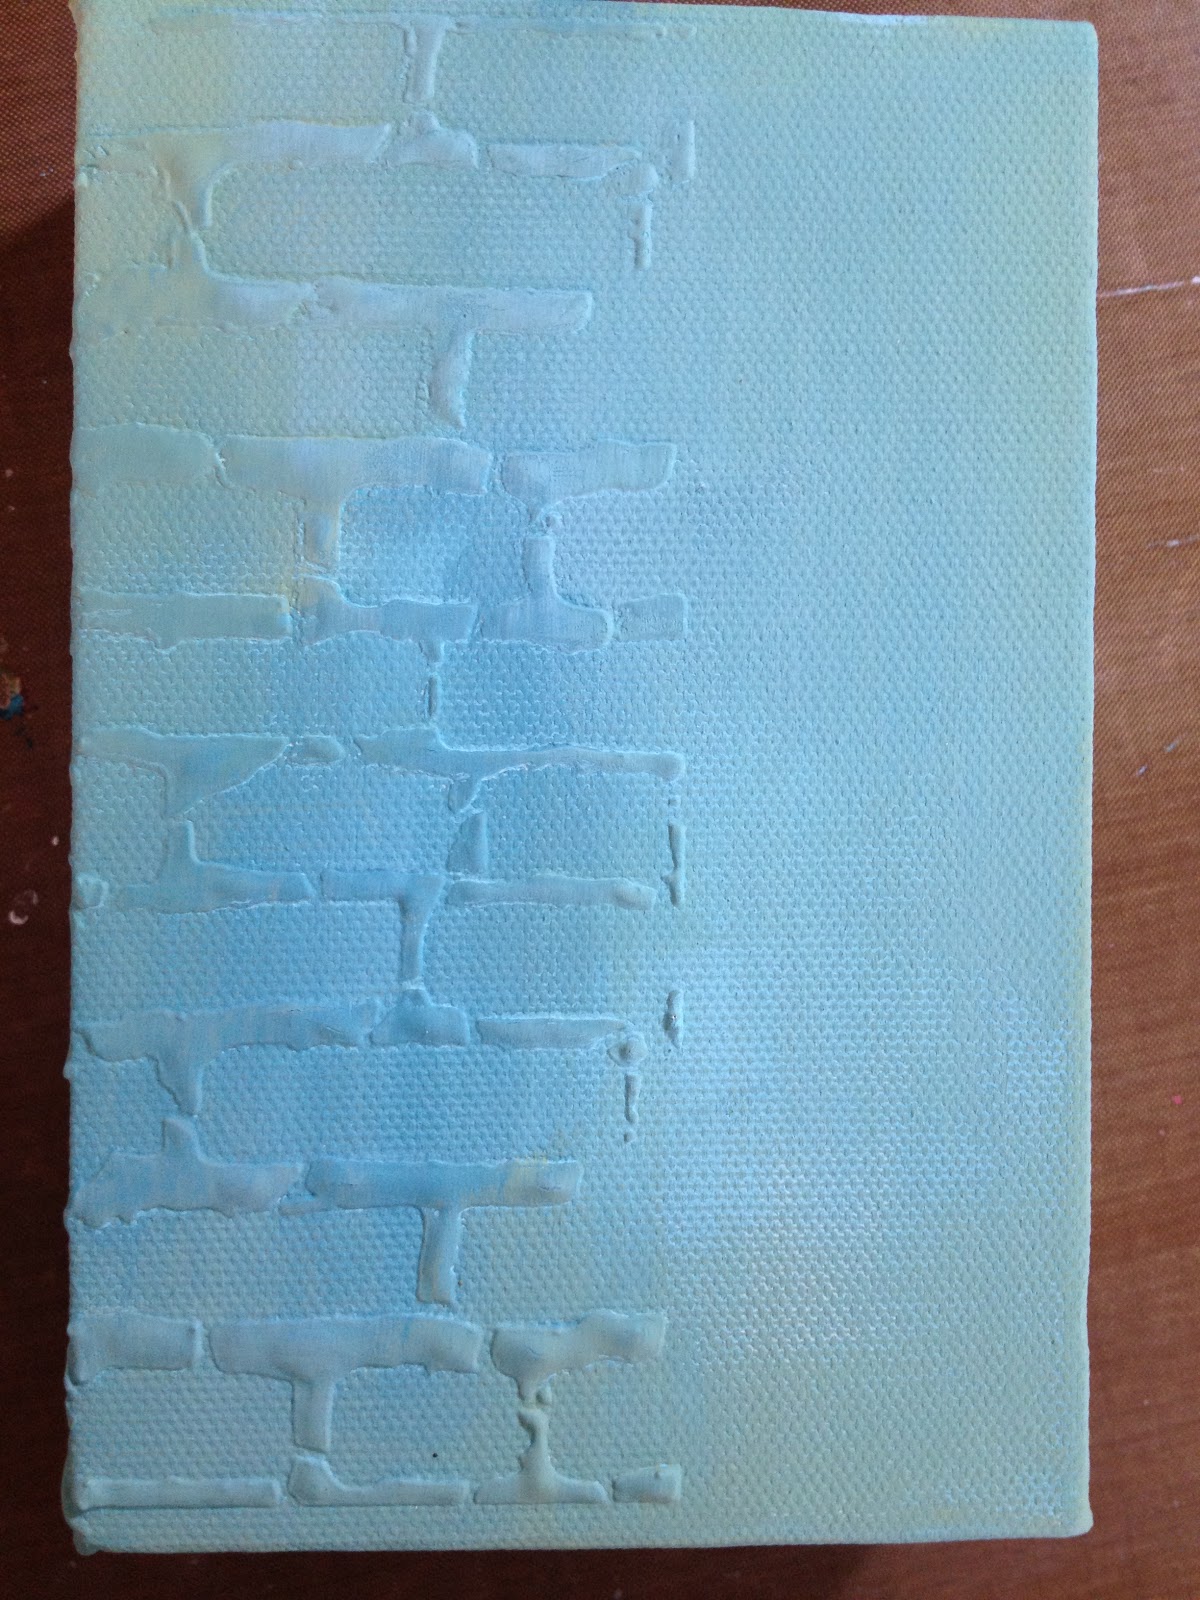
Start with one of PaperArtsy's 6x4 box canvas frames and using a palette knife or old credit card, scrape a layer of Grunge Paste through your chosen stencil. When dry, I painted the canvas with Mermaid Fresco Finish, blending in a little bit of Bora Bora, Sage and Guacamole.
Grab a small piece of sequin waste and use this as a stencil and sponge a small amount of Inky Pool through the sequin waste using a piece of Cut'n'Dry foam. I also used this colour to highlight the Grunge Paste which I did with a dry brushing technique.

I like to blend the paints on the rubber of the stamps so that I can print a variegated look to the image so starting with Sage, sponge a layer over the the trio of leaves stamp, followed by a small amount of Tinned Peas then a little bit of Green Olives around the edges of the leaves. If you feel that the paint doesn't look blended, go back to the first colour and gently soften and merge the colours with a tapping motion.When you print this, you will be amazed at the effect.
Printing these on the canvas can be a little tricky as the middle of the canvas is not supported but as long as you are prepared for this and have one of your hands inside the back of the canvas, it is not a problem.

Use a small script stamp and black Archival ink to print little sections of text randomly over the canvas. Use the stamp without an acrylic block, this way, you can bend the stamp and print tiny little bits. At this point I decided that the brickwork needed to be brown instead of blue so I brushed on a bit of Mud Splat to tone it down.......much better!

Now for the leaves and flowers which are the focal point of this project. I used the same layering technique on my stamps to print the leaves and stem of the flower. I have found that printing on black cardstock gives an amazing effect. Trim them out leaving a narrow border of black card and they will pop out from the background really well.
Instructions for die cutting and stamping the bloom. You will notice that there is a tiny notch in the die. Once you have die cut the shape, use a pencil to mark the back of the die with an arrow before removing the card from the die. This shape is not symmetrical so it is important to know how to line up the image with the die.

The petal that I am pointing to is the petal that lines up with the notch.

I have marked the back of my stamp with an arrow which indicated the direction that the stamp appears on the index sheet and an "X" indicates the petal that lines up with the notch.

Die cut three blooms and then print using the layering of paint technique, stamp the blossom image on all three die cut shapes. The colours I used were Haystack, Pumpkin Soup, Smoked Paprika and Blood Orange. Two of these will be used for the main flower and one for a smaller, cropped flower as shown in the photograph below. I simply cut the middle out of the bloom with scissors to create a smaller flower or you could use a circle die or punch if you don't trust your scissor skills!!!!

The spiky flower has been cut from the round flower located at the bottom of the plate of stamps.

Now to get everything ready to assemble. I like to stamp a little bit of script on some of the leaves and flowers for a bit of added interest. I also like to snip between the petals of the bloom so that they can be curled which will give the flower more movement. A few stick on pearls in the centre of some of the flowers is also a nice touch. Then it is a case if sticking it all together. My advice would be to use foam 3D pads wherever possible, this adds more dimension to the project.

I hope you have all enjoyed this little tutorial and that it has inspired you to have a go yourself. All products can be found here on the Country View Crafts website.


14 comments:
Lovely spring project Linn - just the thing to get May off with swing! Ali x
Ab really gorgeous project, I love all the colours and how you have created the layers trace x hugs x
Beautiful as ever Lin..I really love this set of stamps!! thanks for the tutorial xx
Fantastic project as ever, and great step by step instructions. Thanks Lin.
Hi Lin, thank you so much for creating this beautiful piece for us at Country View Challenges. I love this set of stamps (and the dies) and have bought them myself. Fab! Chris xxx
Thank you so much Lin, what a great tutorial (and of course the finished project is amazing!)
I get your stamps and dies next week (yay!), and with all your ideas and inspiration I think these will be my fav stamps for a while!
Hello Lin
Congrats on being the Gd, and also for your tutorial on this beautiful creation. The Fresco paints look luminous and relates so much warmth, the flowers are a perfect focus to the backdrop, I am loving what I see.
Smiles:)
Sue
Beautiful canvas Lin, gorgeous colours and design as usual. Sue C x
It is so lovely! And thank you for the great tutorial.
Thank you Lin for the great tutorial. A lovely piece. Xxx
What a lovely piece Lin!
Lin this us a stunning piece for CVC, thank you so much for joining us this month with it and creating such a great step by step too. Your stamps are wonderful and great to use and your designs using hem are inspirational as always.
Hugs Brenda xox
absolutely love this Lin. I neeeeed those stamps.
Oh wow! Looking at those stamps entirely differently now...I have this itching in my wallet! Thanks for sharing. Ruth
Post a Comment