
 Remember the pile of stuff that I showed you yesterday, the mini canvases and the Distress reinkers, well this is the idea got that got me started on this project.
 Tim had sent a fabulous box of goodies for me to use and I wanted to make one of my framed pieces with Tim's products on mini canvases. That got me thinking, how cool would it be if my frame was painted with Distress colours to match the Distress colours that I wanted to use on my canvases. First of all I tried mixing Distress re-inkers in a bit of gesso so that I could simply paint it on the frame. The consistency of the paint was great and although I liked the colours I made, the white base changed the look of the Distress colours. Plan B: Paint the frame with gesso first, then with some Cut'n'dry, apply the Faded Jeans reinker over the gesso. The colour was quite intense at first but then I softened it with a baby wipe and really like the look.
 I dried it with a heat gun and added some Vintage Photo and ended up with a shabby blue which I really love.
 Next up, I took one of the pages from Tim's 12x12 Lost and Found paper stack which was just perfect for a quick and easy background.
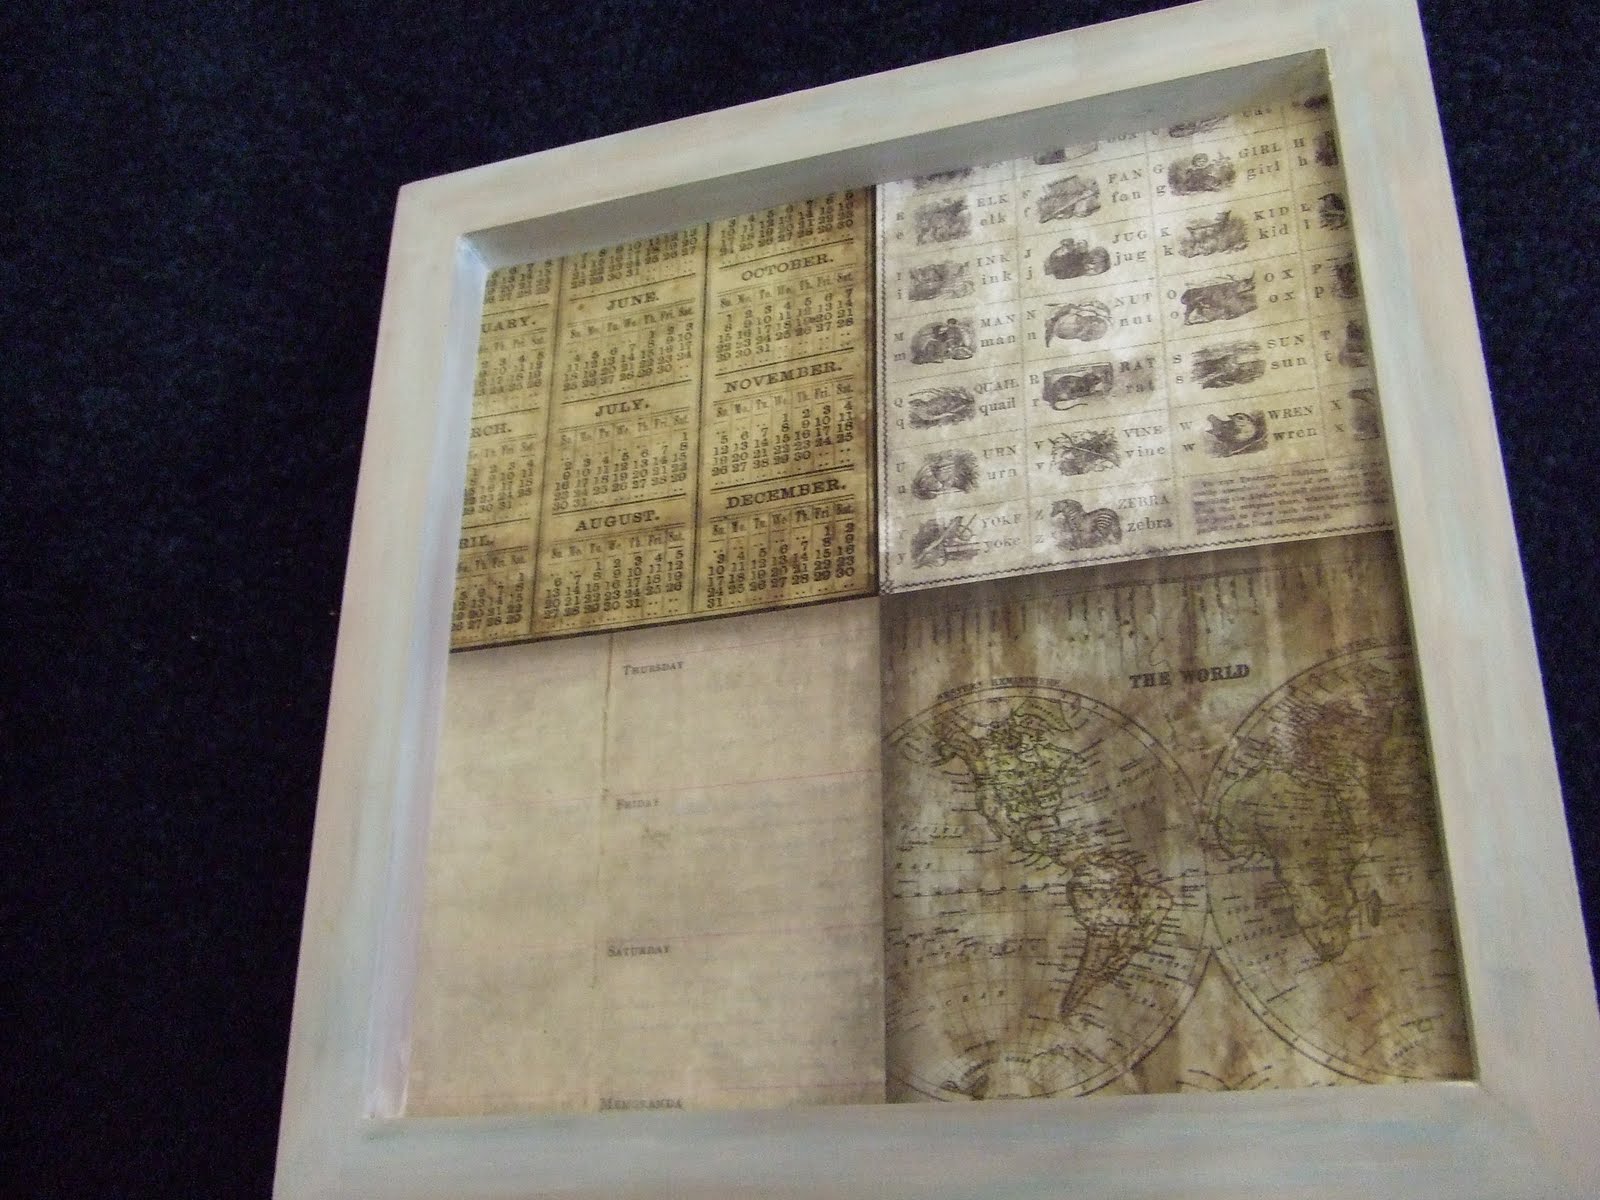
I glued some book pages to my mini canvases and painted over them with a watered down gesso. This acts as a primer. Some canvases come with gesso already on them but it is not always the best quality. My favourite gesso is Claudine Hellmuths one which is made by Ranger.
 Once the gesso is dry, I applied the reinker using the cut'n'dry again. So I can hear you thinking
why didn't she just sponge the colour straight from the ink pad. Believe me, I tried it and it takes a lot of sponging and a lot longer, this way, I got instant colour and I'm just loving this technique and the results it gave me.
 Of course you can add as many colours as you want but I just kept it simple with two colours.
 Once I was happy with all my canvases, I arranged them in my frame and started to fill it up with all sorts of goodies.
 Lot's of Tim Holtz Ideaology embellishments.
 I sprayed some of Tim's new Lavish Trimming (will be available soon) with some watered down Faded Jeans reinker. It was just a hint of colour, very delicate.
Then I die cut some of Tim's Sizzix dies using my copper metal tape sandwich. This bookplate made a great frame for the shrink plastic die cut bird that I coloured with alcohol ink.

Here's a few close ups of some of the other canvases.


Finally, I die cut some metal letters spelling out Yours Artfully, stuck them on top and bottom of my frame and thought I was finished. I kept staring at it thinking that the top of the frame looked really bare and so I added a couple more spinners to the top. Knowing when to stop can sometimes be difficult but at this point it felt finished.
 Hope you will try this, it's a lot of fun.
Lin
WOW what a fabulous piece of artwork
ReplyDeleteOh Lin this is totally gorgeous, I mean its just awesome in every way, and in my fav colour combo of blue and brown too!
ReplyDeleteNow if you can't find any room to hang it there is plenty on my bare walls, and i could be persuaded to take it off your hands as a favor to you ROFLMAO xx I am serious, but only coz its you lol ;p
Fantabuous! It turned out so awesome!
ReplyDeleteFantastic idea!!! Love the finished project, and the wait was well worth it!
ReplyDeleteTotally awesome project!!! Love the metal and canvas and well, really all of it!!!
ReplyDeleteOh Lin, Truly amazing just love it and my favourite colour blue love all the different elements you have put on it, clever you. Big Hugs Jo.xxxx
ReplyDeleteC~ORRRRRRR - Lin, this is truly stunning... totally love love love the colours and those ickle canvases look brill... another beautiful piece of inspiration, thanks for sharing x
ReplyDeletewow, amazing piece Lin you never fail to impress.....how you keep coming up with your ideas is beyond me i think you got extra mojo at birth....lol
ReplyDeletethanks for piccies great to see a working progress
best wishes
p.s. I've got my list and your phone number packed in my suitcase just gotta hope I can get a connection from holiday
This is absolutely fabulous!! Love the mini canvases, I see you've decided not to re-read the Da Vinci code then!!
ReplyDeleteI kind of hope it rains all bank holiday weekend so I can play all the time, and not feel guilty about not going out.
Wow, STUNNING, this is fabulous.
ReplyDeletewow lin uttertly fabulous...love the soft cool colours and all the little Timmie goodies...hugs kath xxx
ReplyDeleteWhat a beautiful piece of artwork. The colour is gorgeous and all the elements are so well placed. Love it.
ReplyDeleteMargriet
fantastic Lin, how long did it take you, it would take me days, but it is lush so I am tempted, dont know if Id use my blog title though LOL :)
ReplyDeletemy word veri is WINESS, quite a good description of me, LOL
Absolutely wonderful!
ReplyDeleteWOW! I LOVE it! I just need to have a closer look ... You have my address ... just pop it in the post for closer inspection would you????
ReplyDeleteAbsolutely stunning Lin, well worth the anticipation - I dont know how you do it all so quickly, it would take me a month at least and then if would not even come close !!!!
ReplyDeletethat's just beautiful. come to California!! come stay, i'll send you pictures of my back yard (the view)... i have my own craft room, you don't have to do a class necessarily, it can be a mini vacation with some play time! i'll invite Cheryl Darrow too! it'll be a nice half way point for you both!! with play time!! wink!!
ReplyDeleteOh my, I have room for this on my wall GF! This is just FAB, I luv it!
ReplyDeleteThis is really lovely, Lin. It's no wonder that Tim chose you to be on his design team! Just shows what good judgement he has.
ReplyDeleteHelen xox
utterly devine and lush i do believe i have a wall totally suited to such an awesome creation and i would so love and look after it ;0)
ReplyDeleteLin, I just LOVE this! Thank you for the step-by-step guide, it's great to see how you achieved this. It's not quite as complicated as I thought when I first looked at it.
ReplyDeleteAbsolutely gorgeous, love it. Thank you for sharing the stages :D xxx
ReplyDelete*THUD*......
ReplyDeleteIf this post came with sound you'd hear the noise of my jaw dropping. Gorgeous, gorgeous, gorgeous... oh, and did I mention... gorgeous! Now unfortunately owing to too many (can you do too many) of your and Linda's classes I'm fast running out of wall space, otherwise I'd be joing the queue of people offering to hang your masterpiece. In fact I'm still wondering where I'm going to hang my Printer's Tray.
ReplyDeleteLove it! The colour combination is beautiful but I am slightly distressed to see The Da Vinci Code torn up!
ReplyDeleteDebbie L
x
Another masterpiece Lin. It's really inspiring to see your work, where do you get all your ideas from????? I love the wetherworn colours. Thanks so very much for sharing your it with us.
ReplyDeleteLove the softened blue and the overall composition of this project. Bravo!
ReplyDeleteHi Lin
ReplyDeleteCongratulations on becoming part of Tim Holtz's design team - way to go girlfriend!!! We gave you a rave the other day on our blog to let all our reader know too!!
You can check it out here http://destinationart.net/blog/?p=2458
Hugs
The Girls @ Destination Art
Western Australia
Wow this is fabulous and so inspiring, thanks for the technique I am certainly going to have a go. :~)
ReplyDeleteThis is amazing Linda! Thanks for telling us how it was made too! Hope we'll get to see it at Ally Pally! Look forward to seeing you there too!
ReplyDeleteAlison x
wow, love it.
ReplyDeleteHow do you set the distress ink on the gesso?
I've tried distress ink on a gesso'd canvasses but it won't dry and keeps smearing.
thanks
Rymke
Love the step by step, thanks! It's beautiful.
ReplyDeletei have spied this one before and have it saved as a favorite. i love the layer of the whole thing.
ReplyDeleteBeautiful, and the combination of brown and blue is stunning.
ReplyDeleteEileen
What a treat to visit this project again!!!! (via Tim's blog) You always amaze me!!
ReplyDeleteWonderful! What an inspiring piece!
ReplyDeleteWow, this is stunning! I love how peaceful and artsy it is!
ReplyDeletestunning!
ReplyDeletemarie-anne
your hard work paid off - beautiful work!
ReplyDeleteSandra
Very inspiring, gotta try this!~!
ReplyDeleteThank you, Lin, for the step-by-step process you used to end up with the fantastic picece you show. I especially like "tips" and this is wonderful.
ReplyDeleteCan I borrow a little bit of you brain???lol
ReplyDeleteNow why can't I think of things like this??? But you inspire me to try.....:o)
What a stunning piece of artwork!!
ReplyDeleteSo creative - you are indeed a
great artist! Thanks for sharing.
i realy have to make my one canvas, you are so inspiring.
ReplyDeletejohanna
So many beautiful details! Appreciate your sharing what products and techniques you tried and what worked best for you! Amazing!
ReplyDeleteWow, love the shabby blue color and the metal frames, shrinky birdie, and the game spinners at the bottom of the frame. Can see why Tim chose you for his team. Thank You for sharing your talents with the web universe! Happy Holidays.
ReplyDelete