My vase started life as a cheap glass vase, probably a charity shop purchase. It has been sitting on the shelf of my studio for a while now, just waiting for a make over.
The first and most important thing you need to do to prepare your vase is to wash it. You really need to remove any grime, grease and finger prints from the glass before painting, so make sure you use some hot soapy water and give it a good scrub.
It is best to try and use one of the opaque paints for the first layers of paint, I chose Concrete and applied an even layer with a piece of cut'n'dry foam. When completely dry, add a second layer to achieve a good base coat.
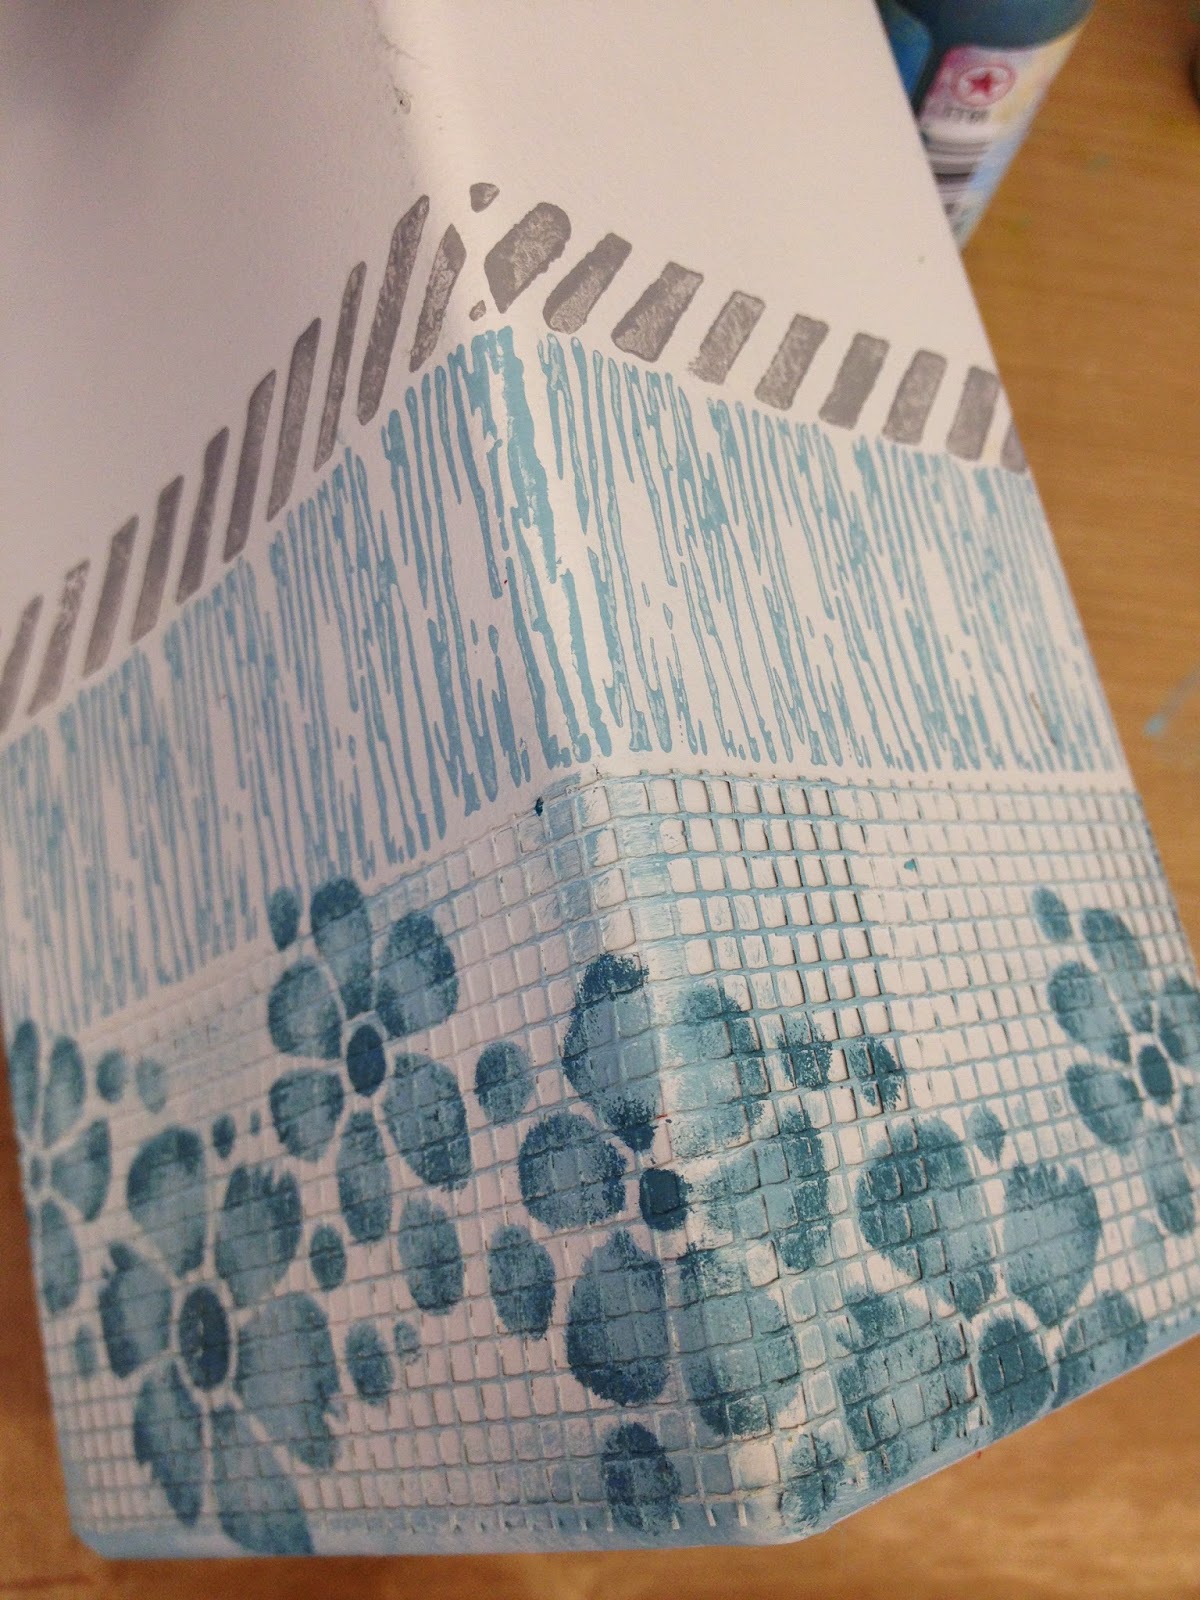
I added some texture to the vase by adding a layer of mesh. This is the stuff that plasterers use, it's self adhesive and goes on like a dream.
Next, I used Lake Wanaka Fresco to print one of Ellen Vargo's stamps. This one is from EEV03.
I very gently sponged some of the Lake Wanaka paint over the mesh.
I printed the small scratchy stamp from EEV02, using Lake Wanaka again.
A change of colour for the next stamp. This time I used Elephant and the stamp is another one from EEV03.
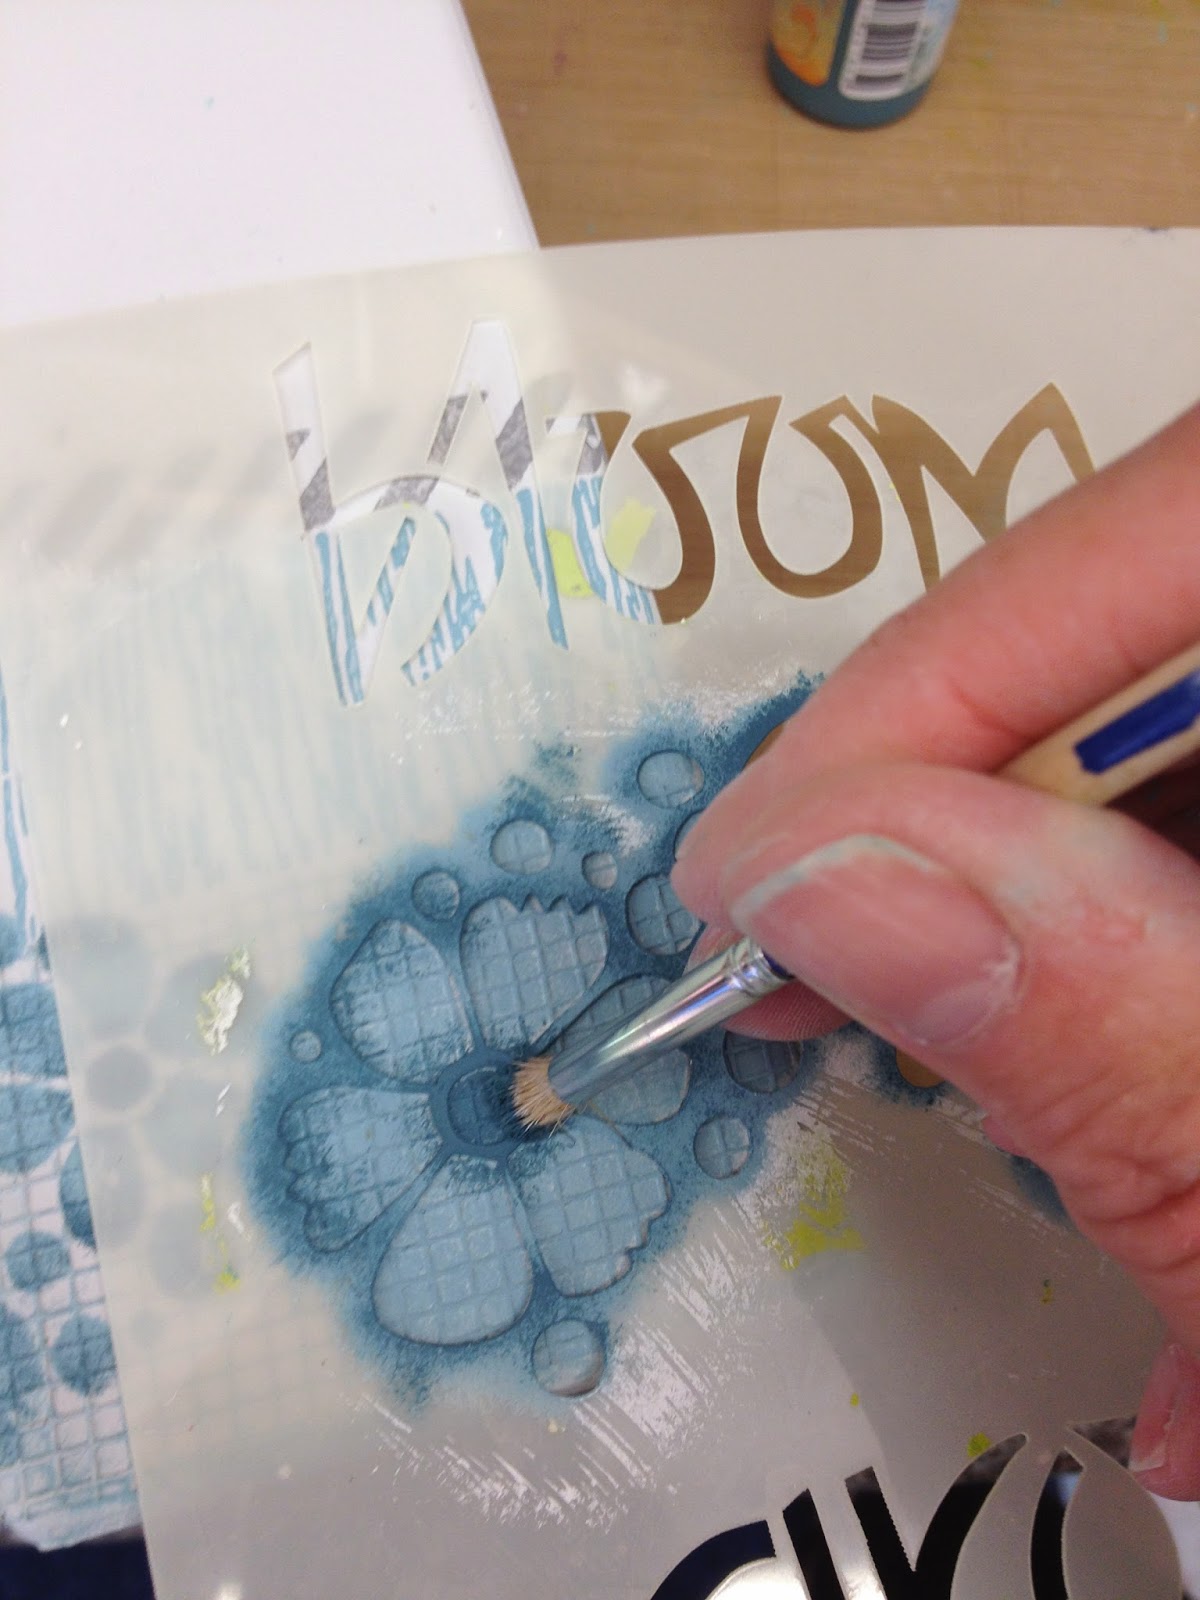
Some stencilling fun next. I chose the flowers from Jo's Bloom stencil, PS008 and used both Lake Wanaka and Space Cadet to shade the flowers.
If you can, try to continue the stencil pattern around the corners of the vase for continuity. It's not too difficult to do.
Using Space Cadet Fresco, I stencilled an image using one of my stencils, PS002. I masked off the flowers at the bottom so that it looks like the stem of my leafy image goes behind the flowers. I did have to extend the stem though.
Repeat for all four sides, adding extra sprigs of leaves to fill in any gaps.
For the finishing touches, I dipped the end of my paintbrush in some Space Cadet to add some dotty accents to some of the stamped images.
When everything is completely dry and I would suggest leaving this to dry naturally as it is glass after all. Apply two layers of Satin Glaze to protect the paint. You will need to allow the first layer to dry completely before applying the second layer. You could of course opt for one of the other glazes, the pearl or metallic would add some more interest to the vase.
This was a fun project to make, I hope it inspires you to make one for your home.


A lovely project, so fresh and bright on such a hot day. really pretty x
ReplyDeleteLin, this is absolutely beautiful! I love the colours you've chosen, and how delicious it will look in your newly decorated bedroom, fully of dried flowers.
ReplyDeleteAwesome!! Love how easy frescos are direct to glass!
ReplyDeleteBeautiful Lin! Love the colour combo and the texture from the mesh. I have one or two vases that look very sorry for themselves. Time for a face lift me thinks! Sue C x
ReplyDeleteDotty accents is a neat touch to finish off what is a splendid vase. Endless possibilities there Lin. Have loads of boring glass vases. Love the way that you have engineered the flowers round the corners. Fab. Xx
ReplyDeleteReally lovely Lin a great idea, got one or two vases similar. Margaret
ReplyDeleteAbsolutely beautiful! You've given me loads of ideas!
ReplyDeleteLucy x
Beautiful. It looks like a scrappaper. But you made it yourself. Thanks for inspiring me Anneke.
ReplyDeleteGreat colour palette, very on trend colours. Enjoy altering glass, it really looks amazing if you follow your steps.
ReplyDeleteFantastic inspiration Lin, thank you:-) xxx
This is lovely lovely Lin. The colours look great together x
ReplyDeleteGorgeous vase. Reminds me of Artsy Crafts, i still have my three little ones on the window sill.
ReplyDeleteMargriet
Lin, that is gorgeous. Reminds me of those really expensive ones you see in places like the Royal Academy's gift shop.
ReplyDeleteFabulous
ReplyDeleteThanks for sharing how you did your this glass vase Lin, very gorgeous and classy!! Coco xx
ReplyDeleteLove it!!!
ReplyDeletelove it - what a great way to revamp vases that don't match current schemes...just need the time to have a go.x
ReplyDelete